 Getting Your Message Out
 Getting Your Message Out
Creating a button or pin that advertises your cause, your idea or invites a question is exactly what our character, Claire, did in the book Kate Buffett and the Deep Blue Sea which begins in The Quest for Blue Planet Super Heroes. It is what our real life BLUE LIFE SUPER HERO, Leila did with her buttons. (Read more about Leila here).
The team at BLUE LIFE is sharing this message on its buttons, “#mybluelife MY CHOICES MATTER” You are welcome to use that phrase and hashtag on your buttons. Most people will not know what that means and will ask. That’s the best thing. Starting a conversation is an important step toward making a difference for the air, the land and the ocean.
If you own a button making machine it is fairly easy to design what you would like your button to look like and what the message will be. A button that can be worn and attract attention or ask a question is a powerful tool for BLUE LIFE SUPER HEROES. Simply talking to people can inspire them to change a habit and make their own BLUE LIFE!
If you don’t have a button making machine you can still create very cool buttons. This a great project to do with friends and family.
The first step is to gather your materials 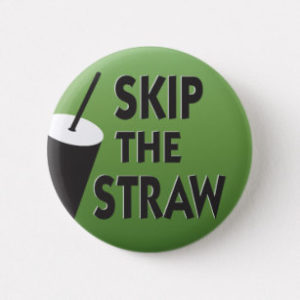


Bottle Caps: The metal caps are useful for small pin badges, as they measure about 1-inch across on the inside. If they have retained unpleasant odors, soak in warm water with dish soap overnight, and then air dry. You may want to spray paint the bottle caps with silver, even though you will be decorating the front. Some like to spray paint them so that when they dangle from a vest or backpack, silver shows instead of the old design. If you’re giving them as gifts or selling them, it’s best to spray paint them first. If you do, spray the inside so the rims that surround the part you’re decorating match the backs.
Unwanted Pin Badges: Collect ones to upcycle that have working pins on the backs.
Corrugated Cardboard: Make a template disc the size you want your pins, and then use it to trace however many you want to make. Cut out with scissors.
Wood: Craft stores sell thin, wooden geometric shapes such as discs and hearts.
You might want to jump straight to a craft store and purchase the snap in button casing – for a more “professional” look and ease of creating. Creatology and Dritz are two companies that have this product available at a relatively low price.


Create your design on a Computer (or hand draw if you have artistic skills)
- Use photo editing software to create the design for your pin.
- Select photographs and other images you want to use. Save them to your computer, and resize copies to fit your button design.
- Create a background that is the shape and size of the part of the pin where you will attach your picture.
- Add elements such as text, a photograph, art designs, etc. Arrange in a way that makes sense.
- Load your printer with standard printer paper — photo paper is not necessary for this usage. Print and allow ink to dry before touching or stacking.
Tip
- If you are making pins of different sizes with the same design, save the largest version as your original, and create copies from it, resizing the copies as needed. This way you won’t have to recreate your design. To save paper, print as many pin faces as you can fit on one sheet.